Raze Guide: Satchel Routes, Grenade Space, and Better Entries
Written by Valorant Village
Source-backed coverage ●
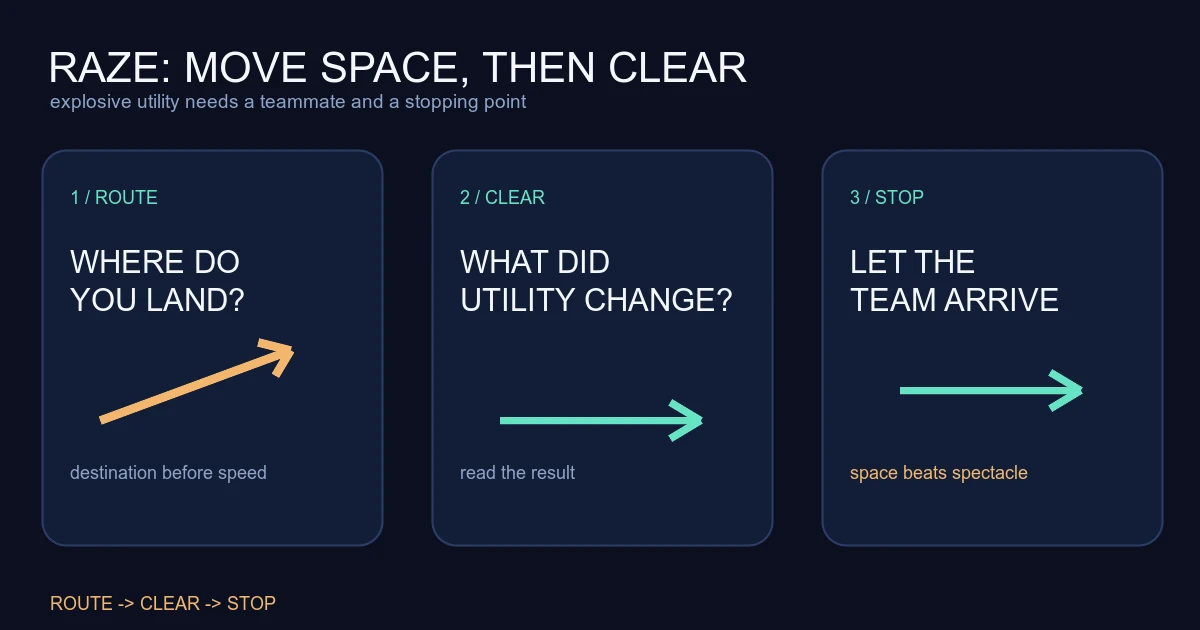
Raze has two tempting mistakes. You can spend a Blast Pack to travel without changing the fight, or throw every piece of explosive utility at a corner without knowing what the team will do after it moves. Both feel active. Neither guarantees useful space.
The better Raze habit is to give each piece of movement a job. Clear a close position, force a defender to move, arrive where a teammate can trade, or escape after the first contact. If the ability does none of those things, keep it for the next decision.
What Riot actually documents
Riot lists Raze as a Duelist and describes her as an Agent who excels at flushing entrenched enemies and clearing tight spaces. On the current Raze page, Riot says Blast Pack sticks to surfaces and can be reused to detonate, damaging and moving anything hit. Raze is not damaged by the ability, though she can still take fall damage if launched high enough. Riot also describes Boom Bot travelling along the ground, bouncing off walls, locking onto enemies in its frontal cone and exploding if it reaches them.
Those are the source-backed mechanics. The order in which you use them, the route you choose and the decision to stop are Valorant Village coaching interpretation.
Make the satchel route readable
Before the round starts, choose where the movement ends. A route can be short and still be good if it puts you behind cover, beside a trade, or past the angle that was stopping the team. Distance is not the score.
Tell your teammate the route in plain language: “I clear close right, then land at the smoke,” or “I satchel across, you swing on the contact.” This connects your movement to the space principle. The movement is useful because another player can act on the new position.
Do not start with the most difficult route. In a custom game, walk the path, note the first angle visible at the landing point, and check whether a teammate could see the same fight. If the landing point exposes you to three unrelated angles, the route is probably a clip attempt, not an entry plan.
Use explosive utility to remove a choice
Raze utility is easier to judge when you name the defender's choice it is meant to remove. A grenade can clear a close corner. A Boom Bot can ask whether the lane is occupied. A Blast Pack can move you through a space while attention is elsewhere. The exact answer depends on the map and round, so do not pretend one throw works everywhere.
The important follow-up is immediate. If Boom Bot confirms a player, who swings? If the grenade forces a player off a position, which teammate takes the space? If your movement crosses the choke, where does the Spike go? A piece of utility that produces information but no next action is only half a play.
This is also why Raze should not dump every resource at the start of an execute. Keep one answer for the fight after the site is reached. A clean entry that leaves the team with no way to clear the plant area can be worse than a slower hit with one tool reserved.
Entry with a trader, not a camera crew
Raze's first body can create pressure, but it should not be treated as disposable. Before you move, identify the player who can take the same fight. The trade guide uses a practical test: can the second player see the shooter and fight immediately? If your satchel lands too far ahead, the answer may be no.
When the route works, stop trying to make it more dramatic. Take the first safe angle, call what is clear, and let the team catch up. If you hear a defender fall back, do not chase into the next room unless the chase solves a site problem. Raze has already created value by making the defender give ground.
Post-plant is where discipline shows
After the Spike is planted, Raze players often keep looking for another explosive entry. The round has changed. Your job may now be to hold a line, delay a defuse, or survive until teammates arrive. The post-plant practice guide is useful here because it asks what each player can still do without constant instructions.
Use the remaining utility to change the defuser's timing or to protect the player holding the important angle. Do not stand in the open because the ability is available. If a safe position wins the round, a flashy move is the wrong move.
Practise the three decisions
Run three custom-game drills. First, practise a satchel landing with no enemy and say the first angle you will clear. Second, add a teammate who holds the trade and repeat the route at walking speed before adding utility. Third, throw Boom Bot or the grenade first, pause, and say what the result changed before moving.
In real matches, review one Raze round by asking: what space did the ability create, who could use it, and what did I do after the first contact? If you cannot answer the second question, the next improvement is not a harder satchel. It is a clearer team plan.
Sources checked
- Riot Games Raze, checked in a live browser 2026-08-15 UTC. Used for Raze's Duelist role, Blast Pack behaviour and Boom Bot's documented travel and lock-on description.
The route choices, utility sequencing, trade test, post-plant advice and practice drills are Valorant Village coaching interpretation, not Riot rules or guaranteed outcomes.