Reyna Guide: Make the Second Fight Count
Written by Valorant Village
Source-backed coverage ●
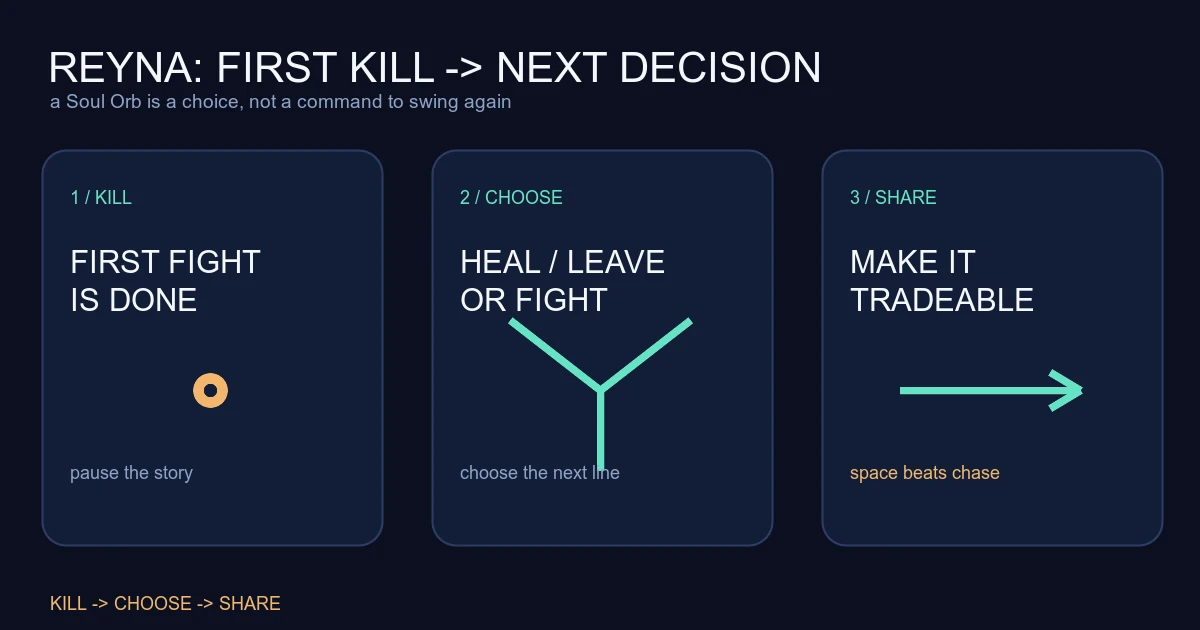
Reyna's first kill is not the end of the fight. It is the moment the round asks a harder question: what should happen before the next enemy sees you? Many Reyna deaths come from skipping that question. A player gets a Soul Orb, chases the next sound, and takes a second duel from the same exposed position.
The goal is not to become passive after a kill. It is to make the second fight different from the first one. Heal when the health change keeps a useful angle alive. Dismiss when leaving the line matters more than holding it. Fight again only when the next duel has support, a better position or a clear reason.
What Riot actually documents
Riot lists Reyna as a Duelist and says her capability is strongly dependent on performance. The current Reyna page documents that enemies killed by Reyna leave Soul Orbs that last three seconds. Devour consumes a nearby orb and rapidly heals for a short duration; health above 100 decays over time. Riot also notes that Devour casts automatically during Empress without consuming the orb.
Those are the official facts used here. The choice between recovery, escape and a second fight is Valorant Village coaching interpretation. The orb is a resource, not a command to take another duel.
Treat the Soul Orb as a decision window
When the first kill happens, freeze the story for a moment. Ask four quick questions:
- Where is the next shooter? A sound, a ping or a teammate's call is useful, but do not turn one clue into a full player count.
- What does the team need? The Spike may need a carrier, the site may need a clear, or a teammate may need time to arrive.
- Which line will I be standing in? The second fight often comes from the same angle as the first.
- Does recovery change the next fight? If healing or dismissing only delays a fight that still has no support, it is not a complete plan.
This is close to the role experiment in choosing a main. A role is useful when the round job survives the exciting moment. Reyna's job after the kill is not always “get another kill.” Sometimes it is to hold the space the kill opened.
Dismiss to change the fight, not to disappear
Dismiss is strongest when it removes a dangerous line or lets the team take space behind you. Use it to leave a tradeable angle, cross a gap while attention is elsewhere, or avoid giving the second opponent the same easy shot. If you dismiss in place and return to the same line, the ability may have bought only a few seconds.
The route after dismiss matters. Call it: “first down, I leave close,” or “I dismiss across, take site with me.” A teammate should know which space is safe to occupy and which angle remains yours. If nobody can follow, the escape may preserve your life but abandon the round's useful pressure.
Do not dismiss automatically after every kill. If the first opponent died in a safe position and the next angle is already covered by a teammate, holding the rifle may be the better choice. The ability is a way to control exposure, not a ritual.
Heal when the health changes the next duel
Devour has a clear purpose when the health difference affects the next fight. A damaged Reyna holding a necessary angle may use the orb to stay useful. A full-health player who is about to walk into an unsupported duel is not fixed by healing.
Remember the orb's short life. Decide quickly, but do not panic. If the team has secured the site and you can heal behind cover, take the recovery. If the orb is exposed and the second enemy is already swinging, escaping the line may matter more than completing the heal.
The practical rule is to compare the resource with the position. A full health bar in a bad position is still a bad position.
Make the second fight tradeable
Reyna can win isolated fights, but the round becomes more reliable when the second duel has a teammate behind it. The trade guide asks whether the second player can see the shooter and fight immediately. Apply that test to yourself before you swing again.
If the teammate is still rotating, hold the orb decision and play the clock. If the teammate is next to you, use the first kill to take a new angle together. If the second opponent is trapped by utility, fight while the advantage exists rather than wandering toward a sound.
The best Reyna round often looks less dramatic after the first kill. She dismisses out, a teammate takes the cleared lane, and the defense has to solve a new position. That is still a successful second fight even when Reyna does not take it.
Practise the kill-to-choice loop
In a custom game, rehearse three first-kill outcomes. Start from an exposed angle and name the dismiss destination. Start from cover and decide when Devour actually changes your health plan. Then add a teammate and practise waiting for the trade instead of chasing the next contact.
Review three ranked rounds. Write down the first kill, the option you chose, the next angle and whether the team could use the space. If the same mistake is “I chased from the first position,” move the improvement earlier. Decide the second-fight rule before the first bullet.
Sources checked
- Riot Games Reyna, checked in a live browser 2026-08-15 UTC. Used for Reyna's Duelist role, Soul Orb lifetime, Devour healing, overheal decay and Empress interaction.
The kill-to-choice loop, Dismiss/Devour conditions, trade test and practice drills are Valorant Village coaching interpretation, not Riot rules or guaranteed outcomes.