VALORANT Agent Roles: A Utility Matchup Matrix for Ranked
Written by Valorant Village
Source-backed coverage ●
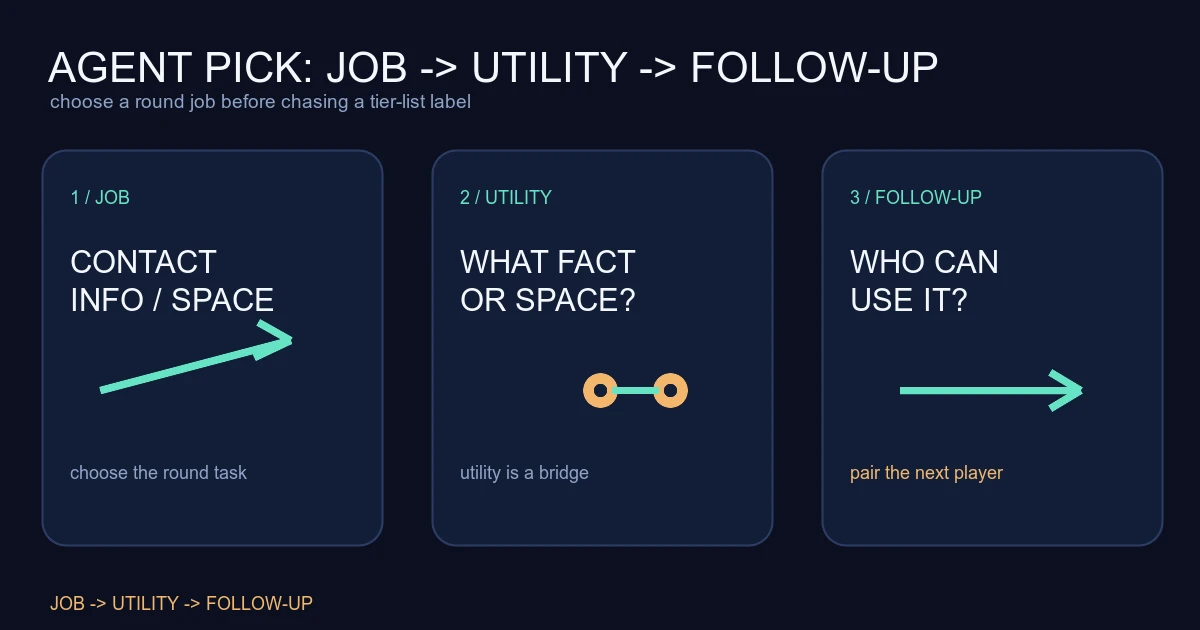
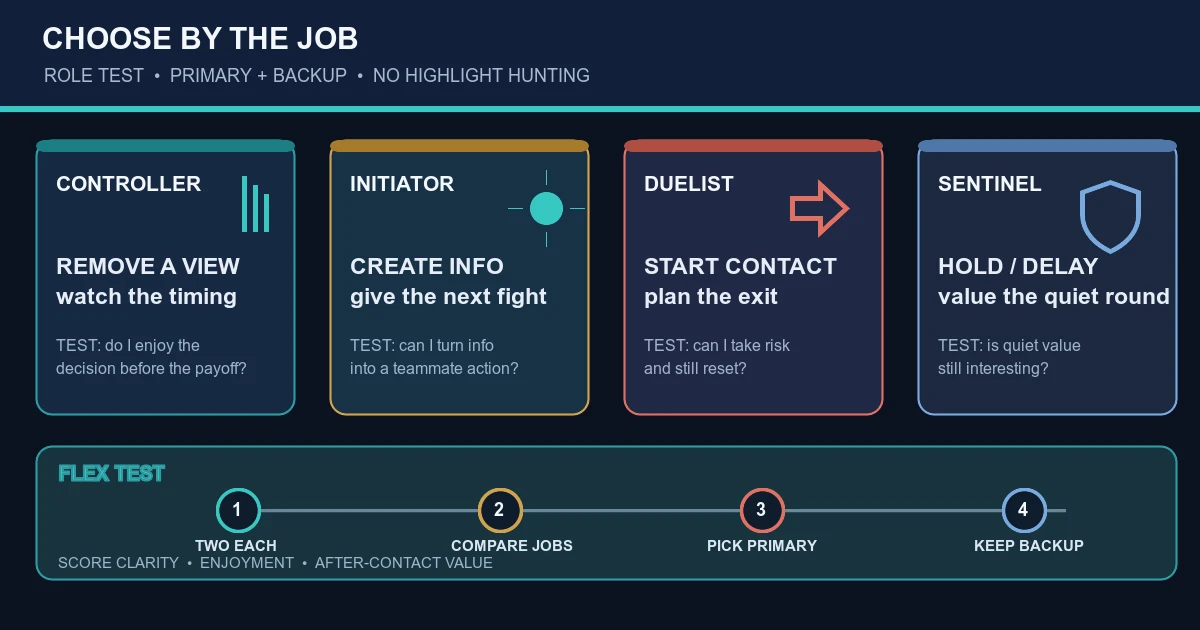
Choosing an Agent by tier list alone leaves out the question that matters in a ranked round: what job do you want to perform when the plan gets messy? Two Agents can share a role and still ask for different habits. A Duelist may create first contact. An Initiator may make that contact more readable. A Controller may turn one lane into a shorter fight. A Sentinel may make the enemy pay for taking the same route twice.
The useful matrix is not a list of counters. It is a way to match a round job with the utility your team can actually use.
What Riot documents
Riot's current Agents roster lists Agents by their official roles and links to their individual ability pages. Those role labels are Riot facts. The job matrix and matchup questions below are Valorant Village coaching interpretation. A role does not guarantee that a composition will work, and an Agent is not locked to one action every round.
The five jobs to put in a matrix
Start with five rows:
- First contact: who is responsible for seeing the danger first and surviving or creating a trade?
- Information: who can check a lane, reveal a response or make a quiet angle less uncertain?
- Space: who can make a defender leave cover, cross a dangerous gap or respect a new route?
- Anchor: who can delay a hit, hold a lane and stay useful while teammates rotate?
- Recovery: who can help the team after the first death, missed utility or lost site control?
Put your preferred Agent in each row where their kit can help. Then put a teammate's Agent beside it and ask whether the two utilities connect. A first-contact tool with no follow-up may be a solo play. Information with no player ready to use it may be a notification rather than an advantage.
Duelist: ask where the space goes
For a Duelist, the first question is not “can this Agent get a kill?” It is “what space can the team use after the first contact?” The playing-for-space guide gives the key test. If the Duelist moves forward, can a teammate trade, plant, or hold the angle that opened?
When comparing two Duelists, write the job beside the pick. One may be better for a fast first contact. Another may be better when the team needs a patient angle or a second fight. Do not call the matchup a counter just because one highlight ability looks stronger.
Initiator: ask what fact changes
Information has value when it changes the next decision. Put “checks close,” “clears an angle,” or “confirms a rotate” in the matrix instead of writing only “has recon.” Then name the player who acts on the result.
An Initiator and Duelist pair should have a simple call. The information arrives, the Duelist takes the changed fight, and the next player is close enough to trade. If that sequence is not possible, the utility may still be useful, but it should not be described as a guaranteed entry.
Controller: ask which sightline gets shorter
Controllers help when their utility changes the amount of the fight your team must solve at once. In the matrix, write the lane or angle the smoke, wall or area denial is meant to remove. “Smokes site” is too vague to review. “Blocks the far lane so entry clears close” gives the team a real job.
The controller also needs a post-plant or retake row. A setup that helps the first five seconds but leaves no answer for the next fight may be a weak fit for the round plan.
Sentinel: ask what repeats become expensive
Sentinels often give the team time, information or a cost for predictable movement. Put the repeated behaviour you want to punish in the matrix: a flank, a plant route, a late lurk or a site hit with no utility. Then ask whether the setup remains useful when the enemy does not cooperate.
Do not confuse an anchor with a player who never rotates. The best sentinel decision can be to leave after the utility gathers the fact and let a teammate take the new fight.
Fill the recovery column before queueing
The recovery row is where compositions become practical. If the first contact fails, who helps the survivors? If the entry player dies, who can still clear the plant area? If the team loses a site, who can delay long enough for the rotation?
The trade guide is a good constraint. A team composition is not tradeable because the icons look balanced. The second player must be able to see and fight the shooter quickly.
If your chosen Agent has no obvious recovery job, define one before the match. That could be holding a safe post-plant line, preserving one piece of utility, or taking the next information check. A quiet job is still a job.
Test the matrix over three matches
Choose one primary Agent and one backup. Before each round, write the five rows in shorthand and mark the row you are responsible for. After the round, mark whether the utility created the intended fact, space or delay.
Do not change Agents after one bad game. The main-role guide suggests judging a role by repeatable jobs rather than one highlight or loss. Compare three rounds where the same job appeared. If the job keeps failing because the team cannot use the utility, adjust the pairing or call, not just the Agent label.
Sources checked
- Riot Games VALORANT Agents, checked in a live browser 2026-08-15 UTC. Used for the current Agent roster and official role labels.
The five-job matrix, utility pairing questions, recovery column and practice method are Valorant Village coaching interpretation, not a Riot tier list or universal matchup chart.