Chamber Guide: First Contact Without Throwing the Escape
Written by Valorant Village
Source-backed coverage ●
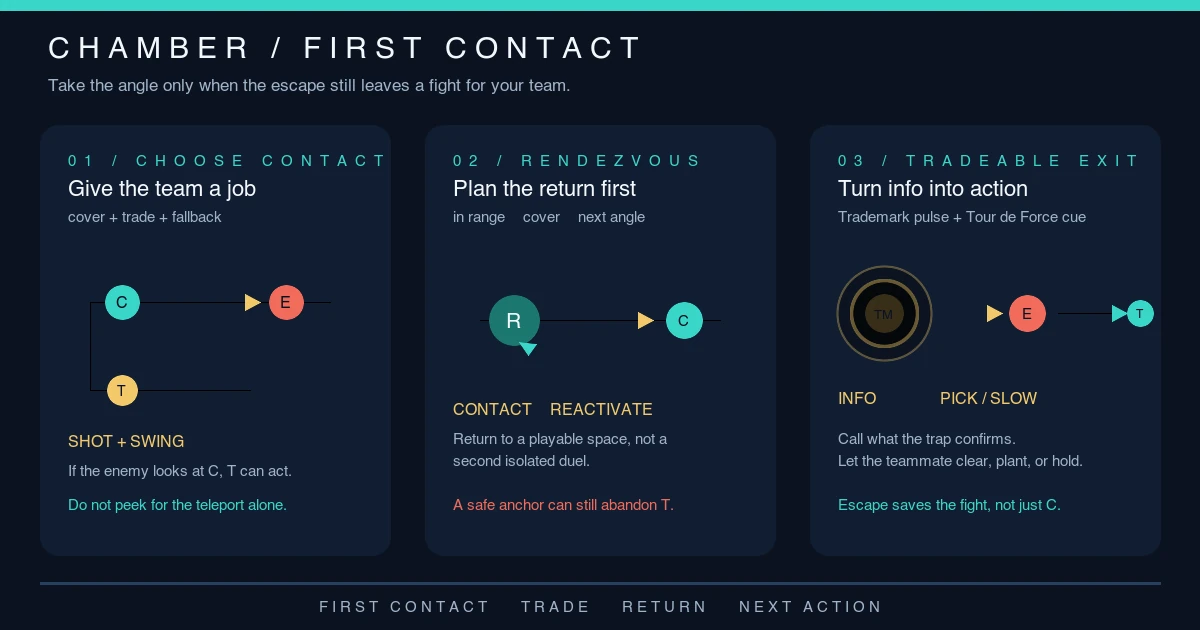
Chamber can take first contact and survive for the next phase. That escape is not a license to take a duel only Chamber can see. If Rendezvous removes him before teammates can punish the defender's attention, one player survives while the lane is donated. The useful question is not “Can I get out?” It is “If I show, who can act when I show, and where does the round go if I leave?”
What Riot currently documents
Riot’s current Chamber agent page lists him as a Sentinel. Headhunter equips a heavy pistol with alternate-fire aiming. Rendezvous places a teleport anchor on the ground. While Chamber is on the ground and in range, reactivating the ability teleports him back, and the anchor can be picked up for redeployment.
Trademark equips a trap that scans for enemies. When a visible enemy comes into range, it counts down, destabilizes the terrain around that enemy, and leaves a lingering field that Slows players caught inside. The trap can also be picked up and redeployed. Tour de Force summons a custom sniper rifle. Its direct upper-body hit kills an enemy, and a kill creates a lingering field that Slows players caught inside. Alternate fire aims down sights.
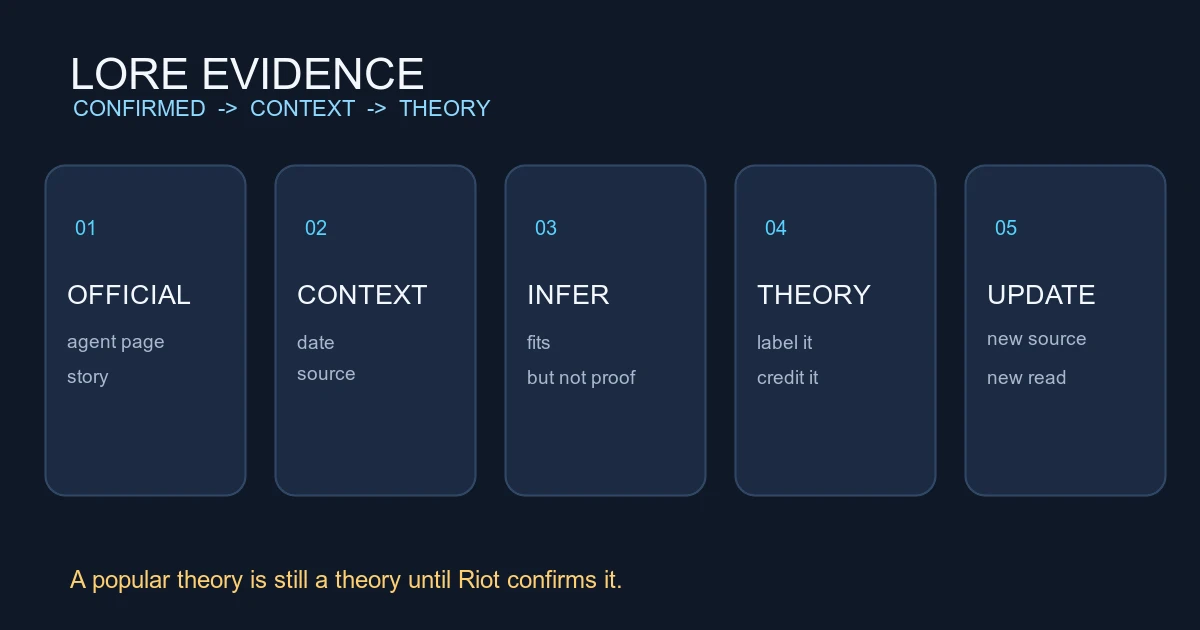
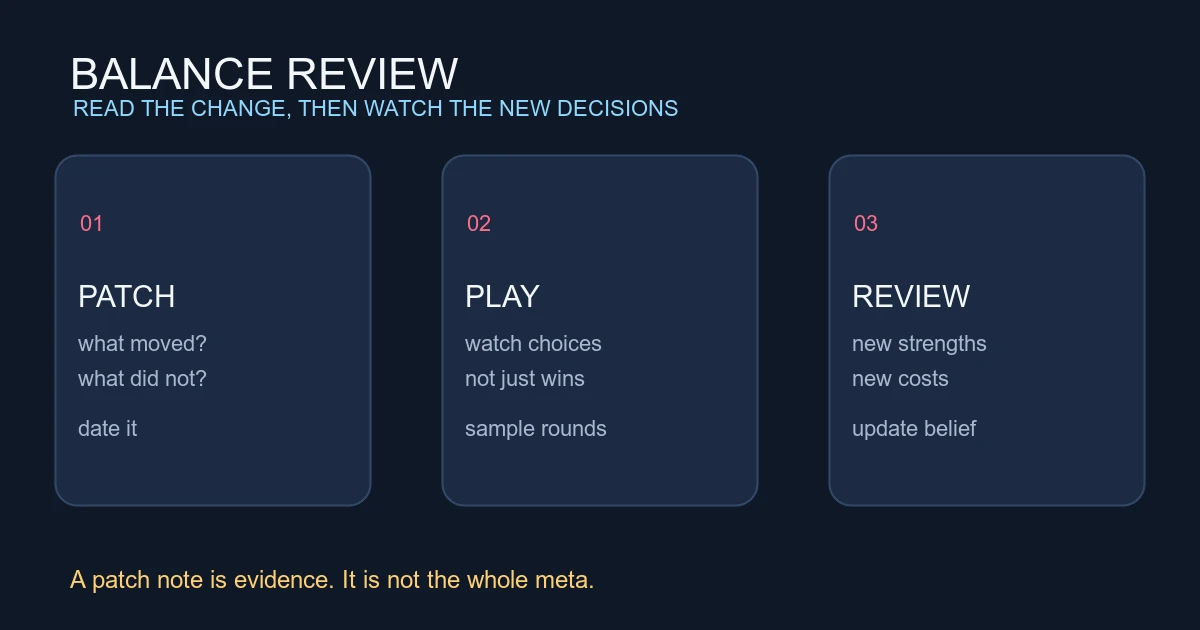
Riot’s Patch Notes 13.02, published July 29, 2026, record an all-platform fix for a Rendezvous teleport failure. The same page lists a console-only Tour de Force haptic-feedback fix. These are the current patch facts I checked, not a reason to reuse old costs, ranges, cooldowns, durations, or counts.
Those are Riot’s documented mechanics. The selection and timing rules below are Valorant Village coaching.
Choose first contact by its job
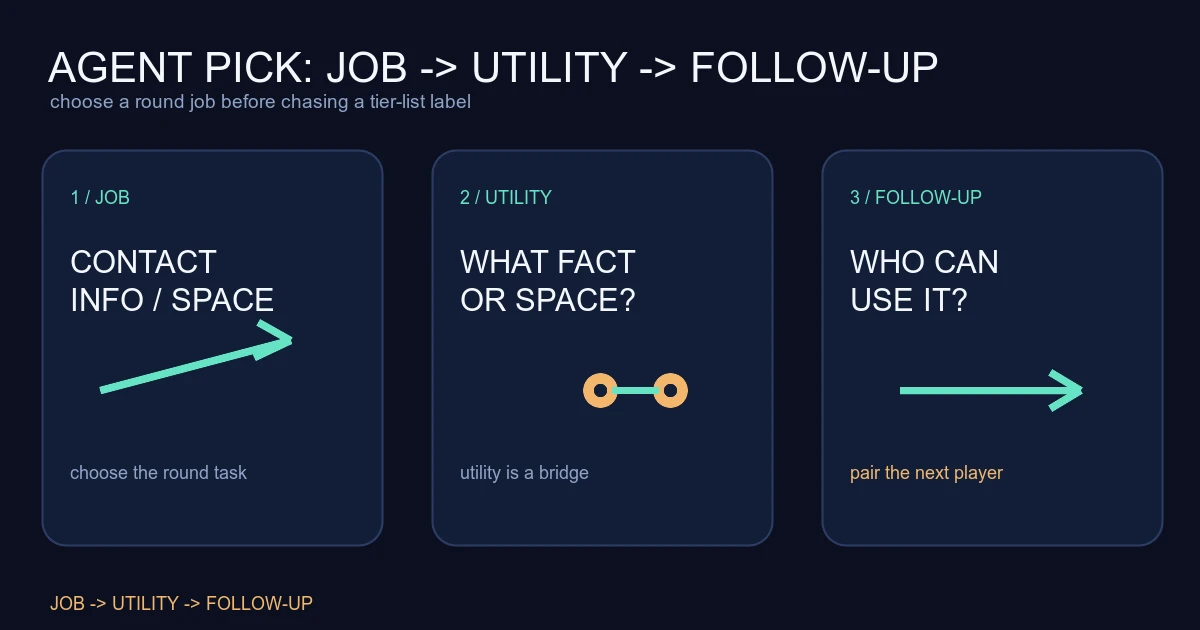
Pick the first contact that gives the team something even when it does not produce a kill. The job might be testing a likely angle, holding a choke long enough for a teammate to take space, or showing from cover so an enemy reveals where they are looking. It should not be “I have a teleport, so I should swing first.”
Before you step out, answer four questions: what do we know, where is my cover, who can trade this angle, and where do I go if the fight does not start? If no teammate can see or reach the opponent while that opponent is focused on you, it is a solo gamble dressed up as first contact. If an ally is ready, call the timing in plain language: “I show, swing on my shot, I fall to anchor.” For short calls that separate what is seen from what is guessed, use our useful comms guide.
Plan Rendezvous before the peek
Place the anchor before you expose yourself, then inspect the return as carefully as the forward angle. Riot requires Chamber to be on the ground and in range when he reactivates. Your coaching test is stricter: does the anchor return you to cover, a playable next angle, or known team space? An anchor that strands you in another exposed lane is not an escape plan.
Choose the trigger before contact. It could be the first shot, a second enemy angle, utility that makes the position untenable, or a teammate’s call to give space. Do not make “after I get a kill” the only trigger. Waiting for proof of success can leave you fighting the whole consequence of the peek. Conversely, teleporting on the first hint of pressure can erase the moment your teammate was ready to trade.
The critical check is whether your exit preserves a punishable enemy. If you appear, fire, and instantly leave while your teammate is too far away or blocked from the angle, the opponent gets attention without risk. Your escape saved Chamber but made the teammate untradeable. Move the first contact closer to support, change the call, or hold until the ally is ready. Our guide to trading a teammate is useful for reviewing that distance and timing.
Trademark is information, not a verdict
Trademark’s documented trigger is specific: a visible enemy enters its range, the trap counts down, and the slow field follows. Treat that as a signal about a route, not a complete enemy count or an automatic command to swing. A trap that has not triggered also does not prove that every approach is clear.
Give the trap a question before placing it. Is it watching the flank you cannot hold, warning that a route is being tested, or setting up a fight around a slowed crossing? When it activates, call the fact and choose one response: hold, contest with a teammate, give ground while keeping its information, or rotate only with another clue. Because the trap can be redeployed, move it when the next question changes.
Time Tour de Force around the team
Tour de Force is strongest when its shot changes what teammates can do next. Activate it for a planned first contact, a retake lane, or a post-plant fight where a kill and its lingering Slow field can delay the next players. Set the Rendezvous plan before you equip it. A powerful weapon does not replace a trade, cover, or a way out.
Do not activate it at the start of every round just because it is ready, and do not force an upper-body shot to justify spending the ultimate. If there is no likely contact and no team action waiting behind the kill, the timing is probably undefined. If a fight is about to happen and your teammates are ready to take the space created by a pick, the same ultimate has a clear job. For the wider spend-or-save decision, see When to Spend Your VALORANT Ultimate.
After a kill, call the field and the next action. The Slow effect is documented; the conversion is your team’s responsibility. Someone still needs to clear, plant, hold, or fall back.
For the next three rounds, review four notes: did my first contact create a team action, did Rendezvous return me to playable cover, did Trademark answer a route question, and did Tour de Force change the following fight? If the teammate could not trade, fix the contact distance or call before moving the anchor. That is how the escape stays part of the plan instead of becoming the plan.
Header image: an original explanatory diagram made for Valorant Village. It is not a Riot screenshot, client image, or live-match image.