Corrode Map Guide: The First Five Decisions on a Three-Lane Map
Written by Valorant Village
Source-backed coverage ●
New-map confusion usually starts with too many names and not enough decisions. Players try to memorise every corner, then freeze when the round reaches a lane they did not rehearse. Corrode is easier to learn when you first understand the kind of map Riot describes and then attach a small job to each route.
The goal is not to know every answer before the barrier drops. It is to know what question you are asking when you move.
What Riot documents
Riot's current VALORANT Maps page describes Corrode as a French castle town turned radianite salt mining facility. It calls the map a traditional three-lane layout with layered defenses. Those are the official map facts. The first-five checklist and route advice below are Valorant Village coaching interpretation.
Riot's Beginner's Guide recommends learning where enemies can come from, watching angles and corners, asking whether utility helps the next goal, and communicating. Those principles are more useful than a memorised list of dramatic spots.
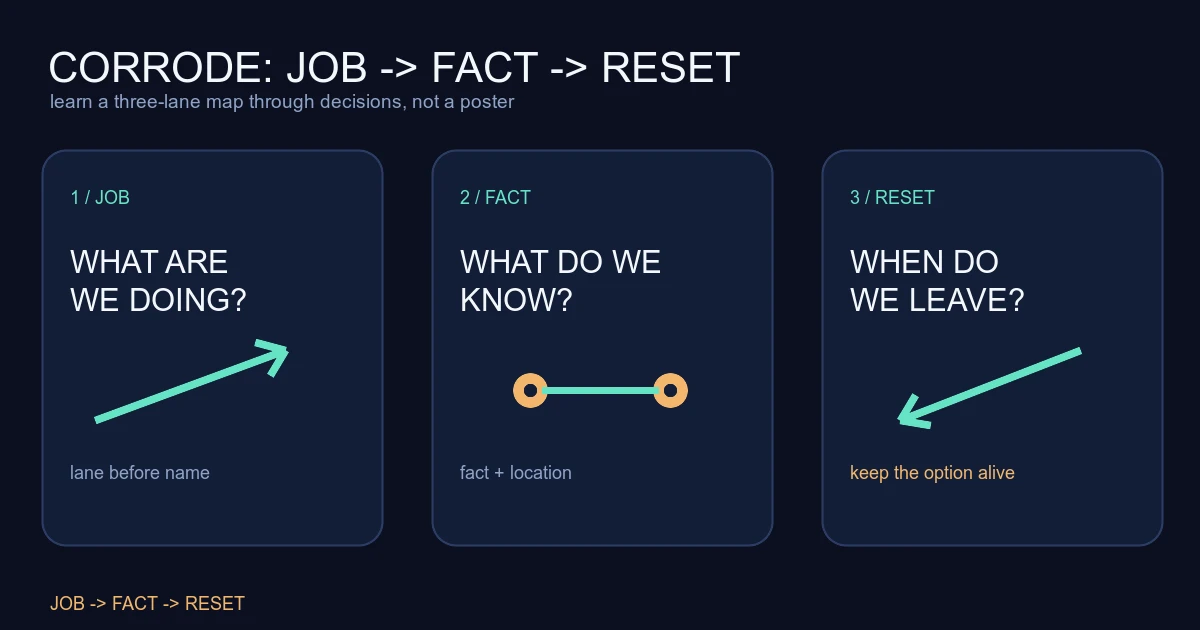
Decision one: choose the lane job
Before the round starts, assign your lane a job. You might be taking first contact, holding for a push, watching a flank, or waiting for utility to change a close angle. “I am going mid” is a location. “I am taking first contact and falling back if I do not have a trade” is a plan.
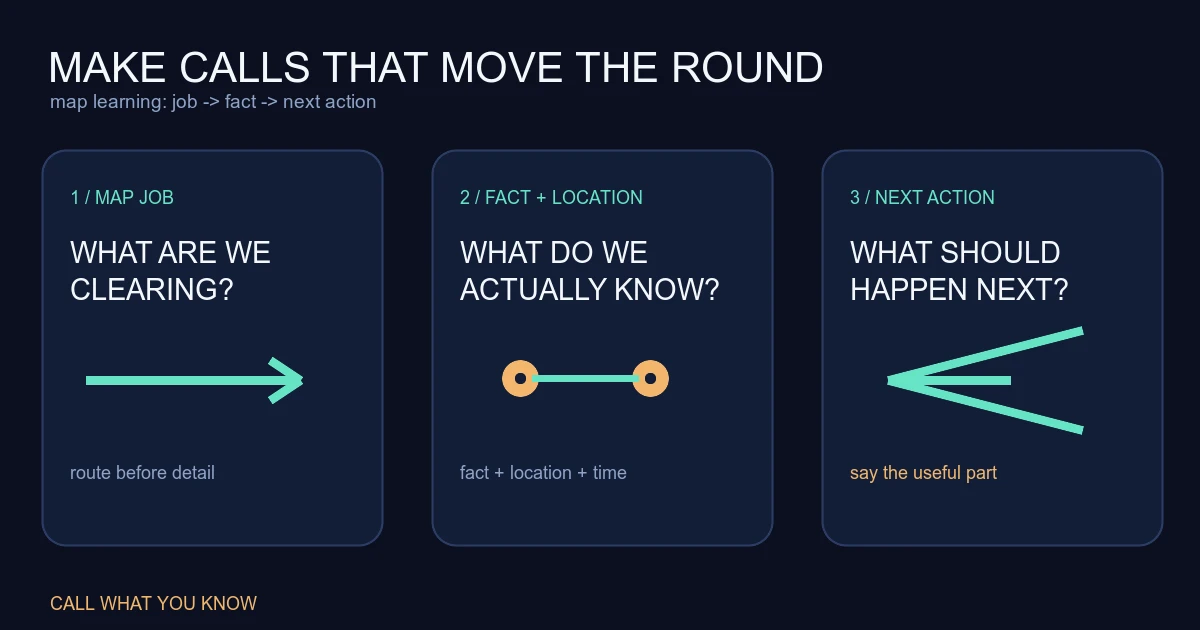
The useful comms guide gives the right shape for the call: what you are doing, where, and what happens next. Keep the words short enough that another player can act on them.
Decision two: name the first fact
When you enter a lane, decide what information matters first. Is the close angle occupied? Did the defender use a piece of utility? Did the enemy give ground? Do not ask the route to answer every question at once.
A clear fact is more useful than a confident story. “No close contact, smoke at the choke” gives the team two things to work with. “They are not here” is usually too large a conclusion from one quiet angle.
Use a teammate or utility to answer the next part. If you are alone, the first peek should have an exit. Learning the map is partly learning where that exit exists, not just where a kill might happen.
Decision three: cross only when the next player can use it
Corrode's three-lane structure can tempt players to cross as soon as a route looks open. Before you move, ask who benefits from the space. A teammate taking the same lane? The Spike carrier? A player holding the original pressure while you change the threat?
If the answer is nobody, wait. Space has value when another player can stand in it, trade from it or use it to force a rotation. A solo cross that leaves the team split may be movement without progress.
Decision four: hold the choice you created
After taking space, do not immediately spend it on another fight. Hold the angle that makes the defender respect your presence. This can keep a rotate honest while a teammate works elsewhere, or it can force the enemy to use utility to remove you.
The defaulting guide explains why preserving an option matters. A slow round is not empty when it keeps two sites possible and makes the defense reveal a response.
On defense, the same rule works in reverse. If you take an aggressive lane and get no contact, keep the information without giving the opponent a free re-peek. Your first job may be done.
Decision five: reset after the answer
Every lane play needs a reset condition. Leave after contact if the next angle is unsupported. Return when the team has the Spike. Hold if the enemy has shown a route that your teammate can punish. The condition should be clear before the fight becomes emotional.
Sound can help, but it is not a full map read. The sound-cue practice list is useful for learning the difference between a clue and a confirmed location. Call the clue, name the lane it affects, and say what you are doing with it.
A first-week Corrode practice loop
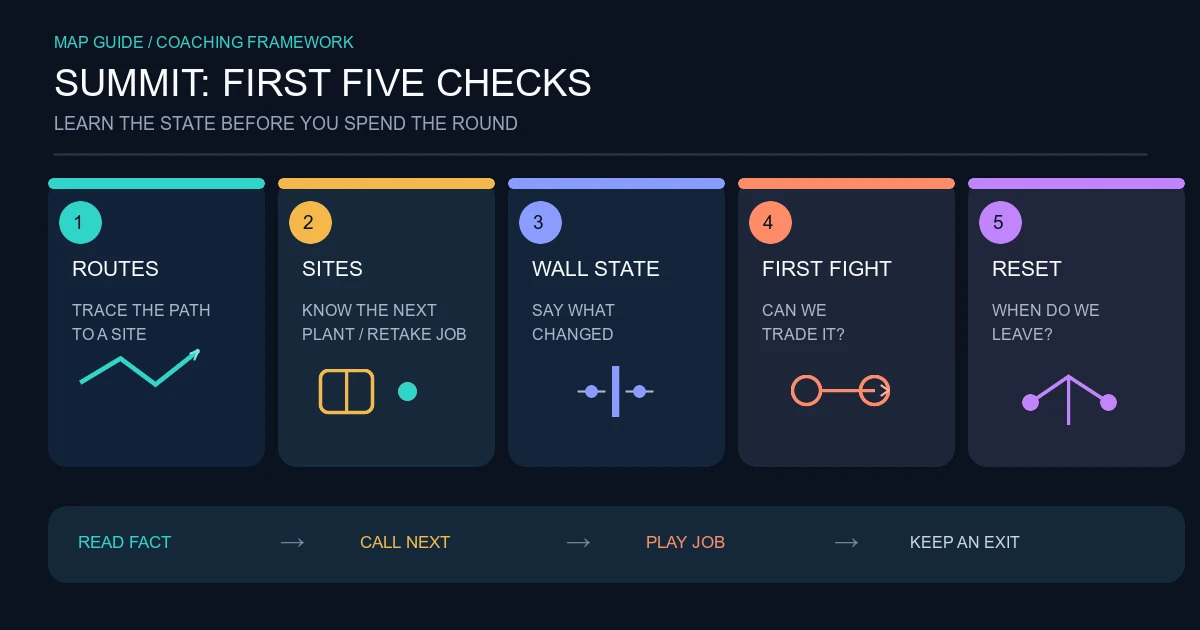
In a custom game, walk each lane without using abilities. At three points, stop and name the first angle, the teammate who could trade, and the route back. Then repeat with one friend holding a likely position. You are testing decisions, not trying to build a perfect lineup book.
In your first five live matches, review one round from each map side. Write down the lane job, the first fact, the space you created, and the moment you should have reset. If the same answer appears twice, make it your next practice target.
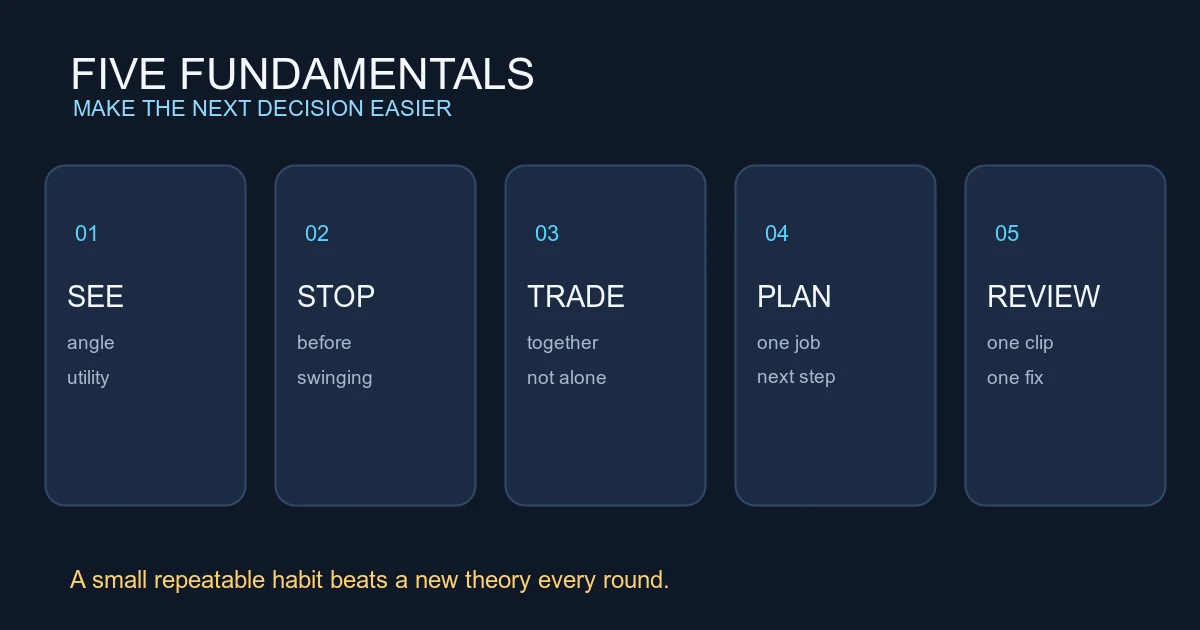
Corrode will feel less complicated when the map names stop carrying the whole plan. A lane is a job, a contact is a fact, space is an option, and a reset keeps the option alive.
Sources checked
- Riot Games VALORANT Maps, checked in a live browser 2026-08-15 UTC. Used for Corrode's current three-lane and layered-defense description.
- Riot Games Beginner's Guide, published 2024-08-02 and checked 2026-08-15 UTC. Used for map learning, angle checks, next-goal utility and communication principles.
The five decisions, reset conditions and practice loop are Valorant Village coaching interpretation, not Riot callouts or exact map rules.