Phoenix Guide: Run It Back Routes and Safer Flash Entries
Written by Valorant Village
Source-backed coverage ●
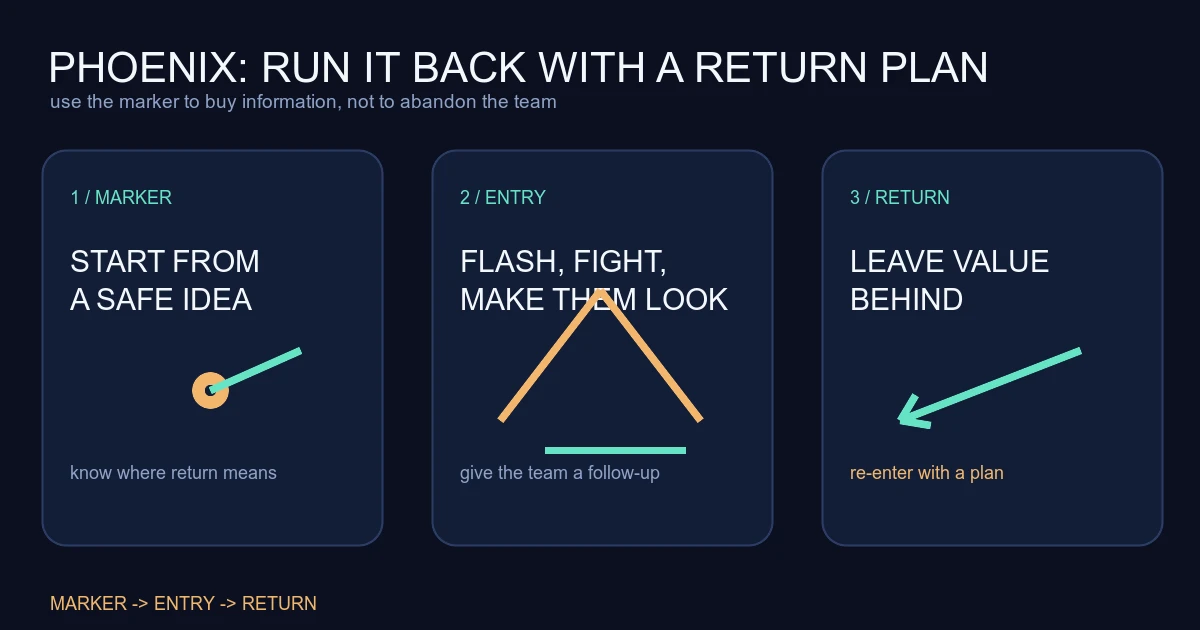
Run It Back is often described as a free life. That description hides the useful part. Phoenix gets one planned attempt to take information or space, but the attempt still needs a route. If the marker is placed where the team cannot use the first fight, the ultimate becomes a dramatic reset with no round value.
Build the route before you cast: entry point, first angle, teammate action, and return position. Then use Curveball to make the first fight playable instead of throwing the flash after the duel has already begun.
What Riot documents
Riot's current Phoenix agent page lists Phoenix as a Duelist and describes Curveball as a flare orb that curves left or right and blinds players who see it detonate. Riot's Patch Notes 13.02 say Phoenix's ultimate-point cost increased from 6 to 7 to address how frequently Run It Back could be cast. Riot's older Patch Notes 5.01 describe Phoenix returning to the marker with the shield amount he had when the ability was cast.
The current point cost and the older respawn detail are dated source facts. The route, flash call, and decision rules below are Valorant Village coaching interpretation. Do not treat the older patch note as a promise that no later behavior has changed; use the live client tooltip for current details.
Place the marker for a team job
The marker should support a round action, not only a personal gamble. A useful position lets Phoenix take the first angle, draw attention, or force the defender to reveal a response while teammates are ready to use the information. A bad position leaves the team watching from too far away while Phoenix dies in a corner that teaches nobody anything.
Before activation, say the job: “I am taking first contact, follow if I clear the lane,” or “I am checking the close angle, keep the Spike behind me.” The call creates a shared expectation. It also gives you a stop condition. If the first angle is empty and the next fight is not supported, hold the gained space or return instead of taking a second solo peek.
The guide to playing for space explains why a position only matters when it gives the team a usable next action. Run It Back should create that action. It is not a reason to spend a life on a random angle.
Use Curveball before the fight
Curveball works best when the teammate knows which contact it is meant to help. Say “flash around the corner, swing with me” or “flash the close side, hold the next lane.” The curved path is a tool for getting the flash around a corner. It is not proof that an entire site is safe.
If the flash blinds or displaces a player, the entry player should take the first fight while the second player is close enough to answer. If the flash produces no useful result, return to the weapon and clear together. Do not chase the animation to prove it worked.
Your own flash can also make your route harder to read. Keep the teammate informed about the side you are clearing and do not send the team into a lane where your own effect blocks the only trade. A short call is better than a long explanation during the cast.
Return with information, not shame
Returning to the marker is part of the ultimate's design. The useful question is what you learned before the return. Did a defender hold the angle? Did utility appear? Did the first route gain space for the Spike? If the answer is yes, your team can use the information after Phoenix returns. If the answer is no, another life has not repaired the original plan.
Do not confuse a kill with a successful route. A kill can happen while the Spike is abandoned or while the trade line collapses. Conversely, a no-kill run can still reveal the angle that makes the next execute safer. Call the fact and location after the attempt, then let the team choose the next action.
The trade guide is useful for checking the same relationship: if Phoenix takes contact, can the teammate fight the opponent immediately, or is everyone waiting for the kill feed?
Keep the gun ready after utility
Phoenix often loses the follow-up while switching between Curveball, fire, and the rifle. The utility gunfight guide covers this attention reset. Cast, state the result, and return the crosshair to the next angle. Do not stand in the open because the marker feels safe.
Review three ultimate rounds with four questions: where was the marker, what was the first job, what did the team learn, and what action happened after Phoenix returned? If the route has no answer to the last question, move the marker closer to a teammate or choose a smaller information goal.
Sources checked
- Riot Games Phoenix agent page, checked in a live browser 2026-08-15 UTC. Used for Phoenix's Duelist role and the current Curveball description.
- Riot Games VALORANT Patch Notes 13.02, published 2026-07-28, checked 2026-08-15 UTC. Used for the dated Run It Back ultimate-point change.
- Riot Games VALORANT Patch Notes 5.01, published 2022-07-12, checked 2026-08-15 UTC. Used for historical context on Phoenix's return marker and shield behavior.
The route model, flash calls, stop conditions, and review questions are Valorant Village coaching interpretation, not Riot rules or guarantees.